In this area you will find all the options to customize the Movyn theme on your website.
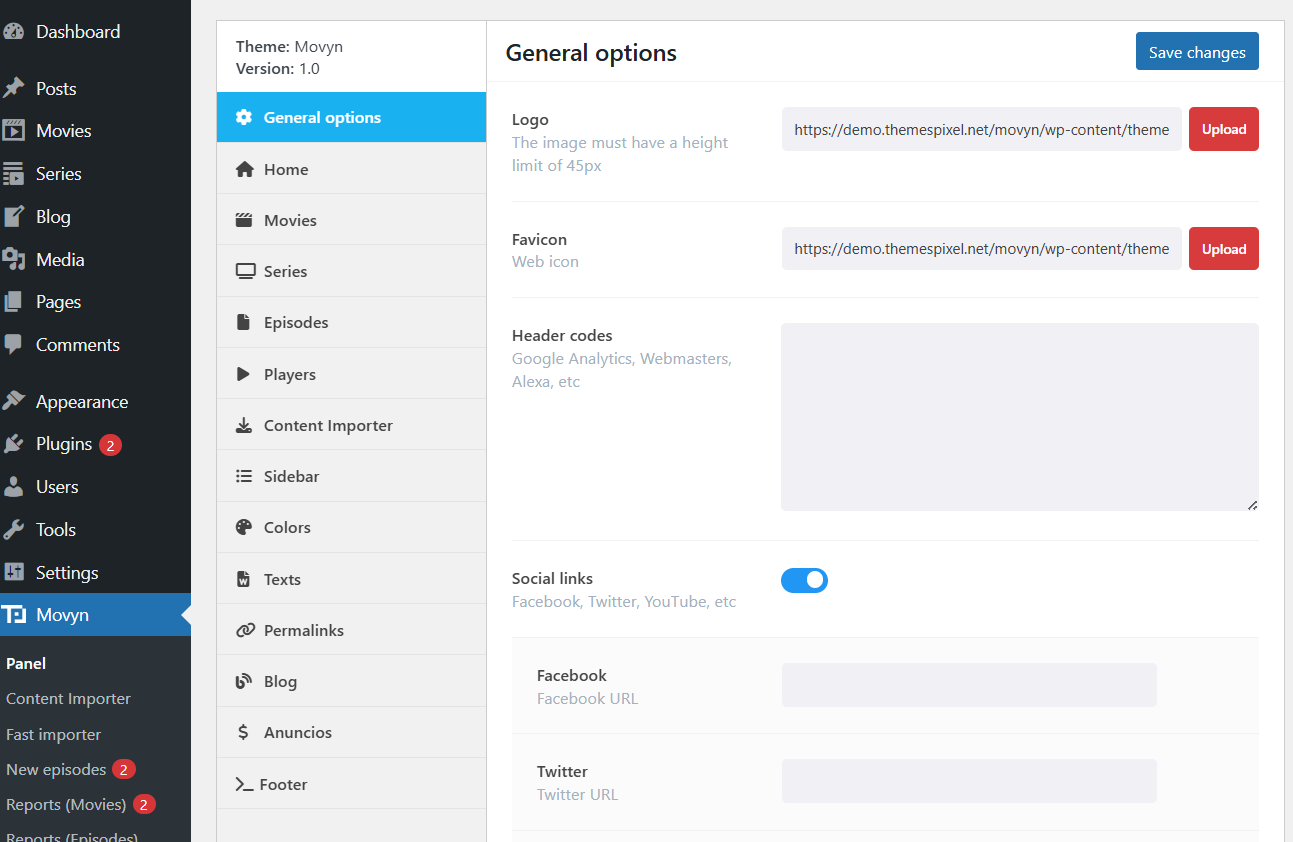
Logo: Upload your logo or enter the URL of the image. A maximum height of 45px is recommended.
Favicon: Add your website’s main icon.
Header Code: Space where you can place different codes such as Google Analytics, alexa, among others. These codes will appear inside the website header (<head>…</head>)
Social Links: Turn social links on or off. Also add the URLs of your social networks such as Facebook, Twitter, YouTube, among others. You can also show or hide these links in the navigation bar or footer.
Comments: You can select between default WordPress and/or Facebook comments or disable them.
Covers by row: Number of covers per row for movies, series and episodes.
How to show the posts? Choose the visual design of the posts. This option applies to the start posts, related posts, recent posts, etc. You have the “default” and “sliding” option in which the user will have to click to show more posts or on the cell phone sliding with his finger.
Page width: default The width of the page is 1100 px, but you can also choose 100% wide.
Image quality: option that allows the quality of the movies cover images, series and episodes to be increased. By default the quality is standard, however, you can choose “high”. Remember that the higher quality the weight of the images is more.
A-Z Letter: This letter bar will be useful for users who want to filter the movies and series per letter of the alphabet. You have the option to show and activate in all pages or only at the beginning.
Infinite Scroll: Activates or deactivates the infinite scroll for pages: movies, series, more seen, more qualified, search engine, categories and taxonomies. The infinite scroll allows the user to continue sliding and that more results appear without changing page.
Limit Description: Limit the description of movies and series.

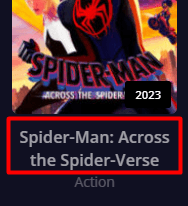
Cover title: You can hide the title of each cover, likewise, control the amount of words per line, title size and category size / date.
Release time: Place the time that the “release” label should be shown from its release date. By default are 30 days for movies and 7 days for series (episodes)

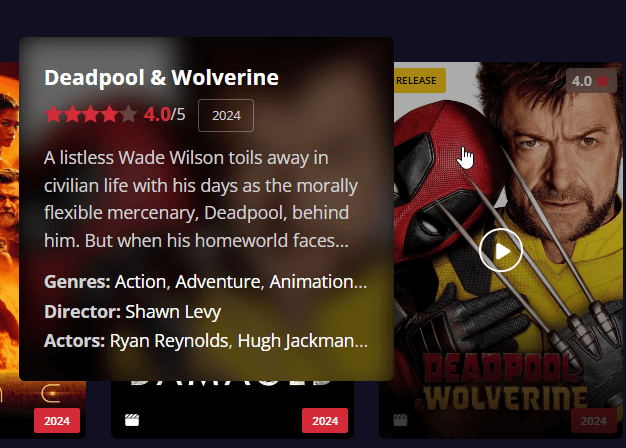
Information box: Default, on each cover, more detailed movie information, series or episode is shown. You can hide it here.
Recaptcha v3 Codes: Prevent robots from automatically sending reports using reCaptcha. You can get the codes here: https://www.google.com/recaptcha/admin

Slider: At the beginning of the page a slider appears by showing the last movie posts. In this area you can deactivate or control the amount, the type of input and make it automatically slide.
Posts list: Choose order or disable default sections.
Categories: shows the movies or series of the selected categories.
Posts number: Choose the amount of posts for each section.
Sidebar: Active or deactivate the sidebar for the home page in the section. Add the widgets.
Within each movie entry there are options that we can handle.
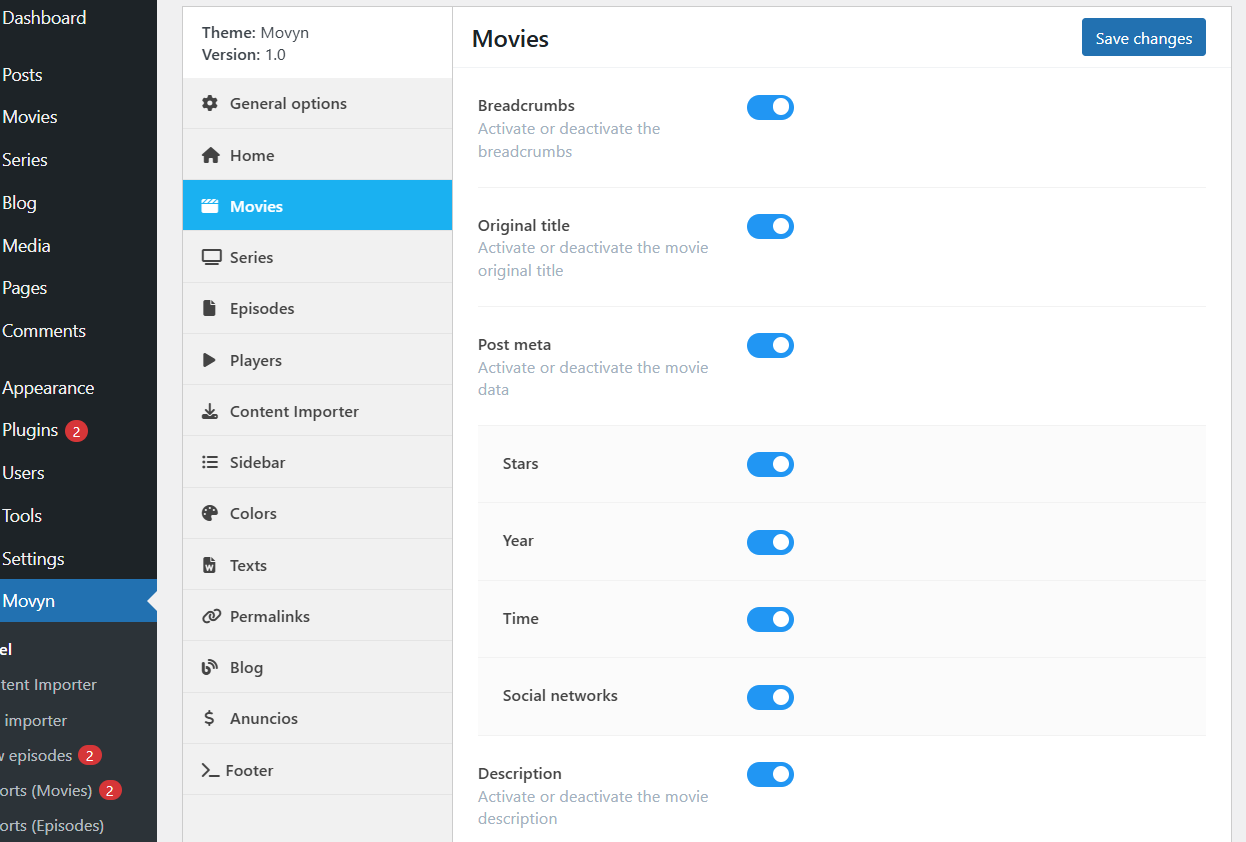
Breadcrumbs:You can deactivate it as default is activated.
Original title: Some movies have an original title and a title for all. Here you can deactivate that field.
Post meta: Enables or disables movie data such as stars, year, time, and social networks to share.
Description: Enables or disables the movie description.
Directors: Enables or disables the movie’s directors.
Writers: Enables or disables the movie’s writers.
Categories: Enables or disables the movie’s categories.
Tabs: Default tabs: Players, Images, Actors, Downloads, and Comments. Enable, disable, and sort these tabs.
Add more boxes: Modify or add more boxes under the tabs. You have the option to add more boxes to the ones that are already there by default (Related movies and latest movies). Click on “Add box +”, enter the title, the number of entries, the type of entry and the filter (related, most viewed, among others)
Within each series entry there are options that we can manage.
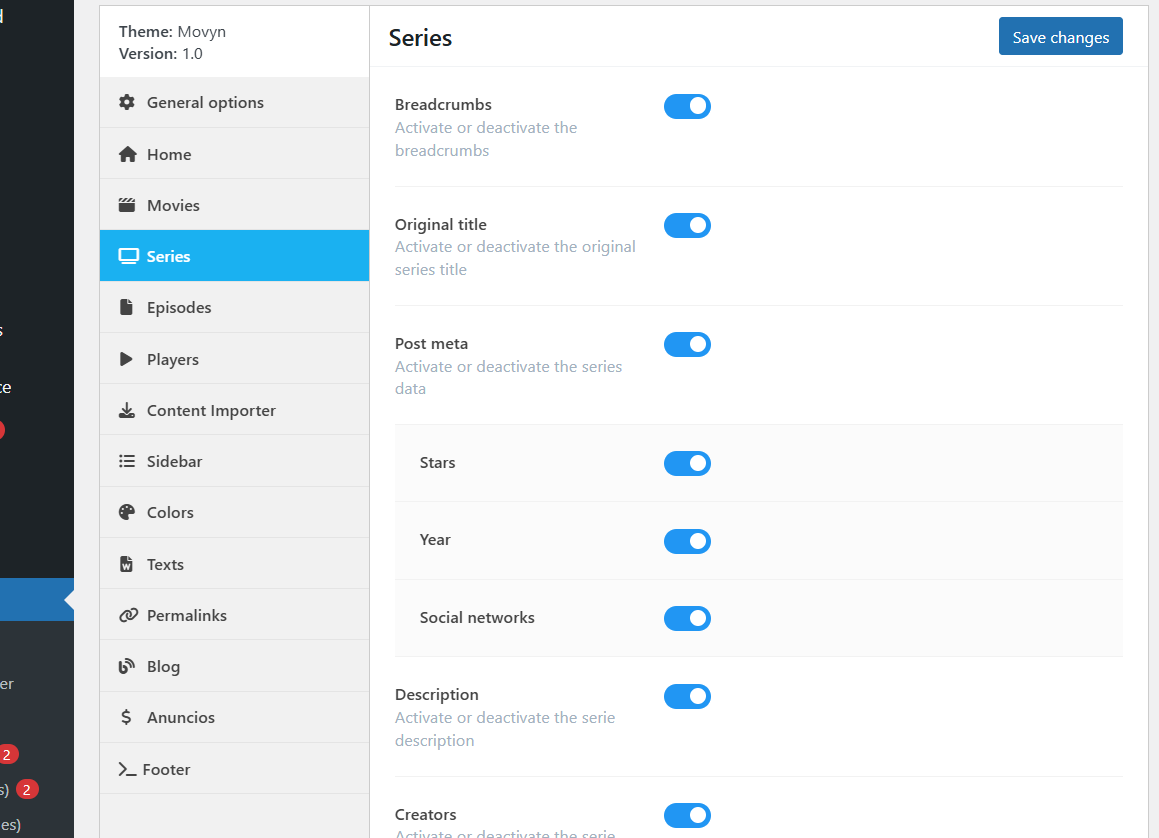
Breadcrumbs:You can disable it as it is enabled by default.
Original title: Some series have one original title and one title for everyone. You can disable that field here.
Post meta: Enable or disable series data such as stars, year, and social networks to share.
Description: Enable or disable the description of the series.
Creators: Enable or disable the creators of the series.
Categories: Enable or disable the categories of the series.
Tabs: Default tabs: Seasons, Images, Actors, and Comments. Enable, disable, and sort these tabs.
Season order: Order in which the seasons will be displayed. Ascending by default.
Episodes order: Order in which the episodes will be displayed. Ascending by default.
Add more boxes: Modify or add more boxes under the tabs. You have the option to add more boxes to the ones that are already there by default (Related series and latest series). Click on “Add box +”, enter the title, the number of entries, the type of entry and the filter (related, most viewed, among others)
Within each episode entry there are options that we can manipulate.
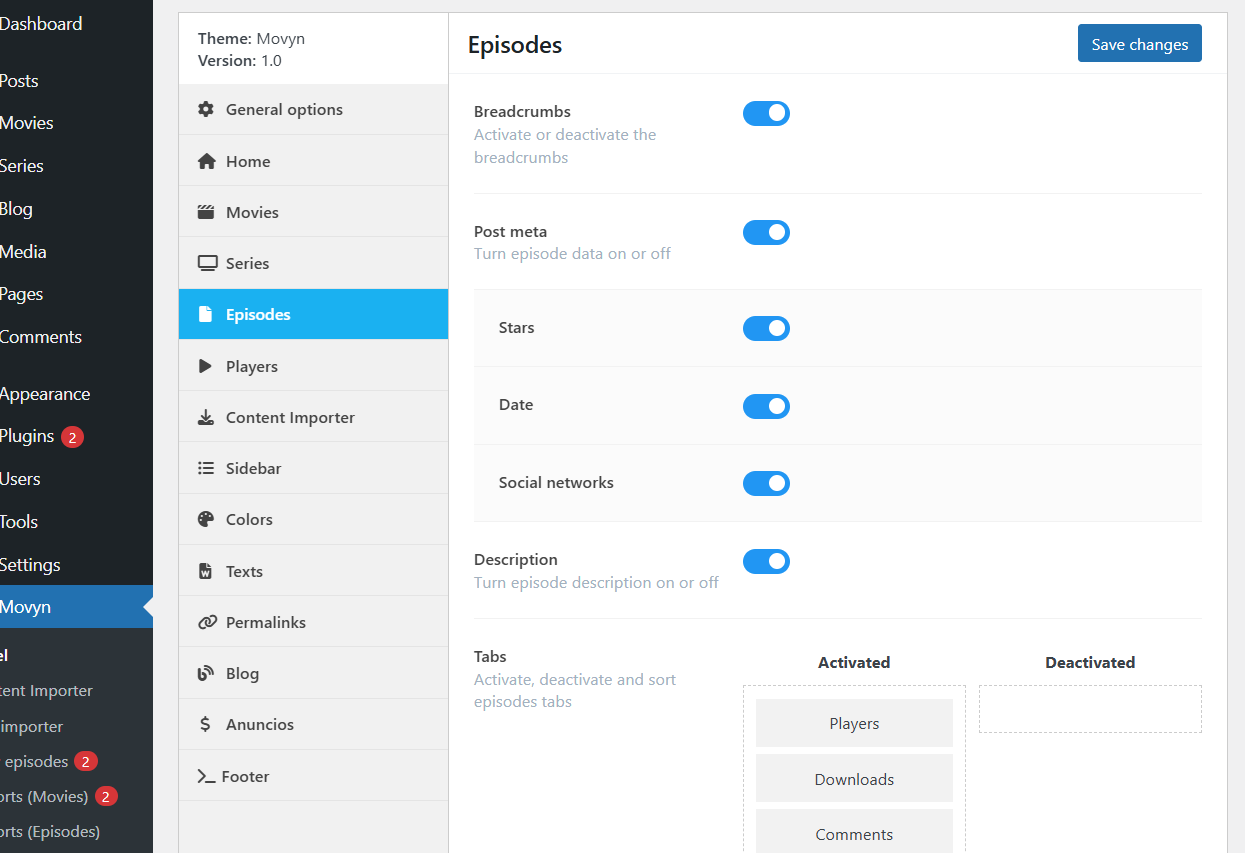
Breadcrumbs: You can turn this off as it is on by default.
Post meta: Turn on or off episode details such as stars, date, and social sharing.
Description: Turn on or off the episode description.
Tabs: Default tabs: Players, downloads, and comments. Turn these tabs on, off, and sort them.
Add more boxes: Modify or add more boxes under the tabs. You have the option to add more boxes to the ones that are already there by default (Latest episodes and latest series). Click on “Add box +”, enter the title, the posts number, the post type and the filter (related, most viewed, among others)
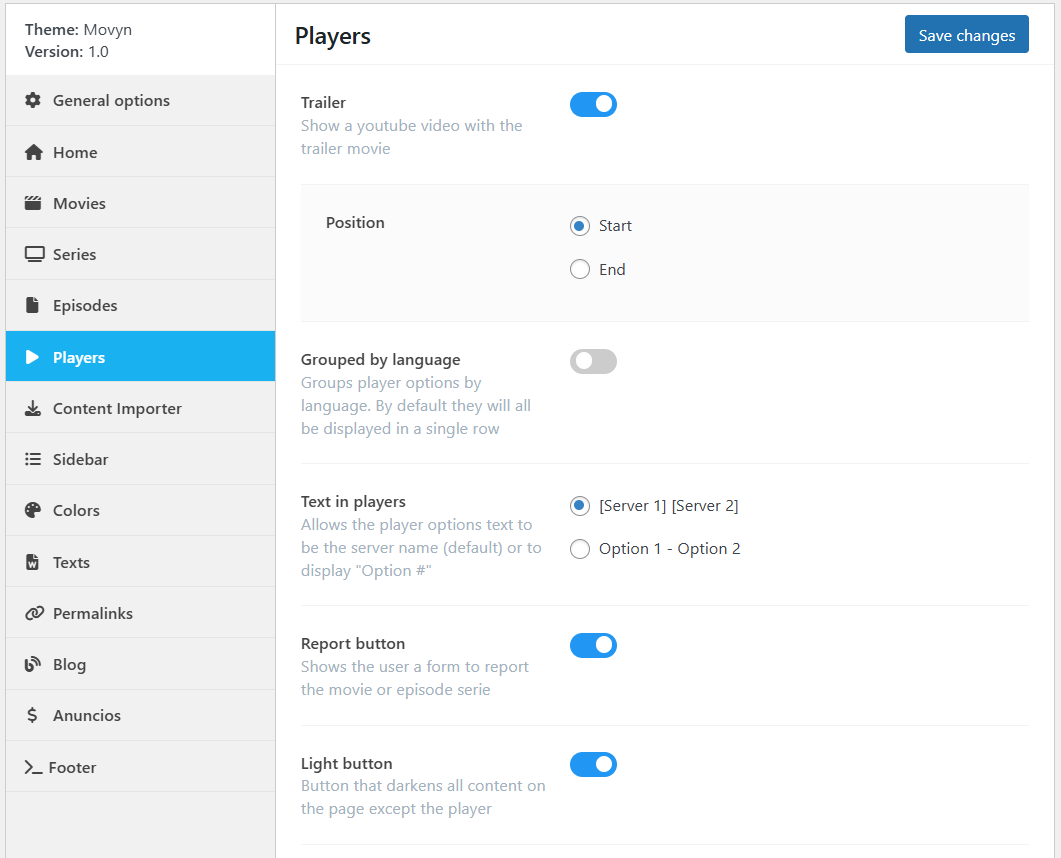
Trailer: You can disable the trailer for each movie. As well as the position, since by default it appears at the beginning of everything.
Group it by language: By default, the player options appear in a list, here you can group it by language.
Report button: A link located below the players, in which the user can fill out a form and report the post. You can activate or deactivate it.
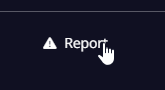
These reports will appear in a specific area.

Light Button: A button that appears on every player that will allow you to darken the entire page except for the player. You can toggle this on or off.
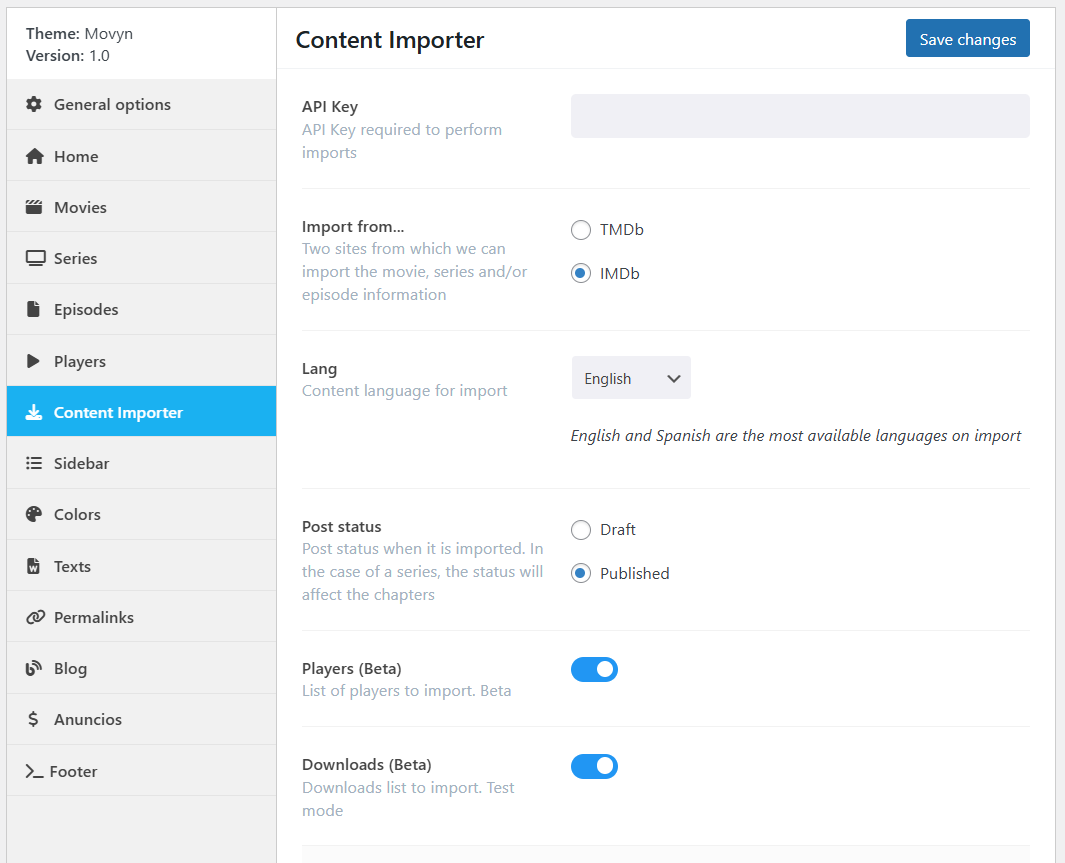
API Key: Unique key needed to perform imports. You can find this key by logging into your account at themespixel.net. Remember to also add your website.
Import from…: Two sites from which we can import information about the movie, series and/or episode. TMDb and IMDb
Language: Select the language of the content to import. Remember that English and Spanish are the most available languages for importing.
Post Status: Status of the post when it is imported. In the case of a series, the status will affect the episodes. Draft by default.
Players (Beta): Import players from a movie or series episode. This feature is in test mode as there are free services that offer players and we make it available to you. It will be disabled by default.
Featured image: Main image for the movie or series. You can choose between using the images directly from the TMDb or IMDb servers, or having them uploaded to your server.
Background: Large image that appears as a background within the movie, series or episode. Here you can also choose between external servers or your own.
Images: List of images belonging to a movie or series. Here you can also choose between external servers or your own.
Image limit: Limit the imported images or you can take them all. By default it is 20 images.
Trailer: Import the movie trailer. It will always be the ID of a YouTube video.
Cast: Enable or disable this option, which allows you to import a large part of the cast of a movie or series. Here you can also limit the number of actors, which by default will be 40.
Directors: Also imports the director(s)
Writers: Imports the writers
Creators: Imports the creators of a series.
Episode format: Sets the title format for imported episodes. The default title format will be: {series} {season}x{episode}: {title}. And the permalinks will be: {series}-{season}x{episode}.
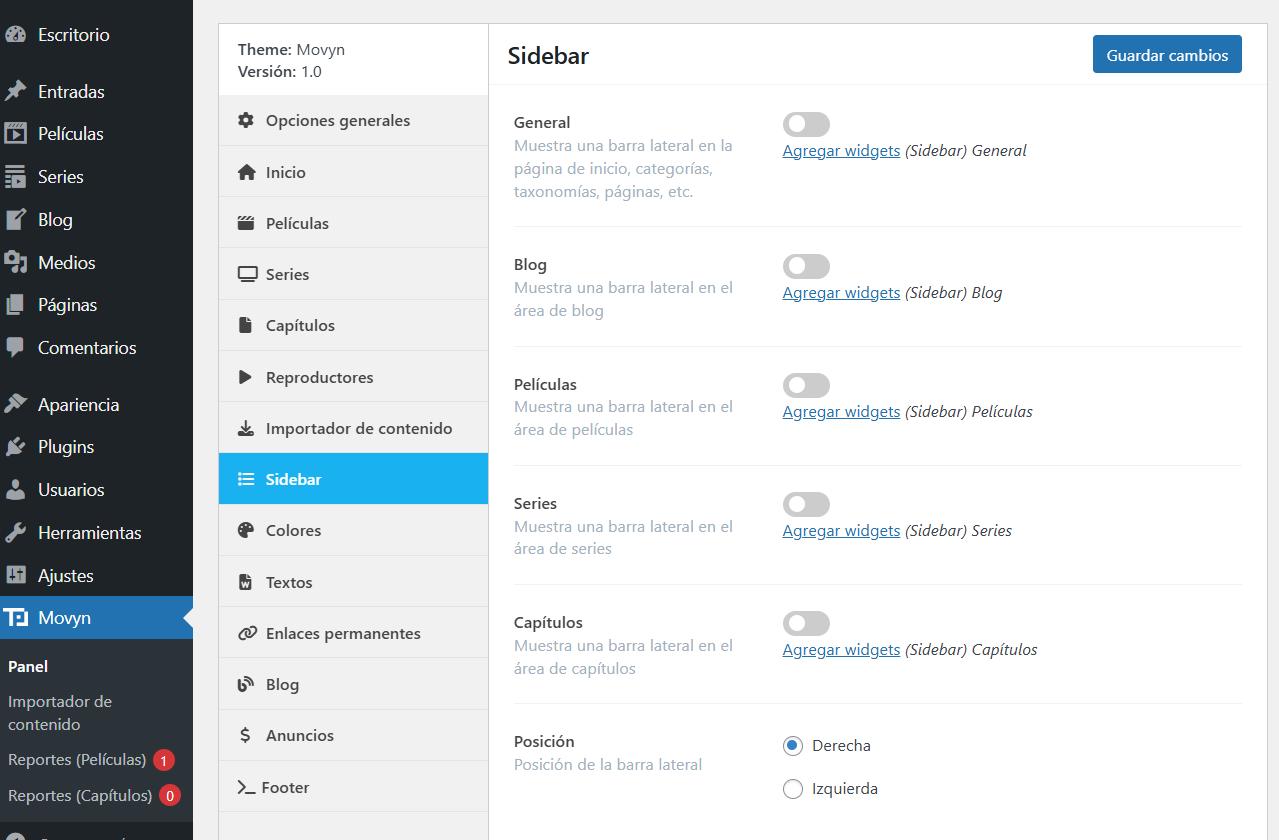
You can add sidebars to different areas of your page. You can activate each of them since they will be deactivated by default. Then, go to the “Widgets” area where you can add the widgets you prefer.
General: Shows a sidebar on the home page, categories, taxonomies, pages, etc.
Blog: Shows a sidebar in the blog area.
Movies: Shows a sidebar in the movies area.
Series: Displays a sidebar in the series area.
Episodes: Displays a sidebar in the episodes area.
Position: Position of the sidebar. Default is to the right.
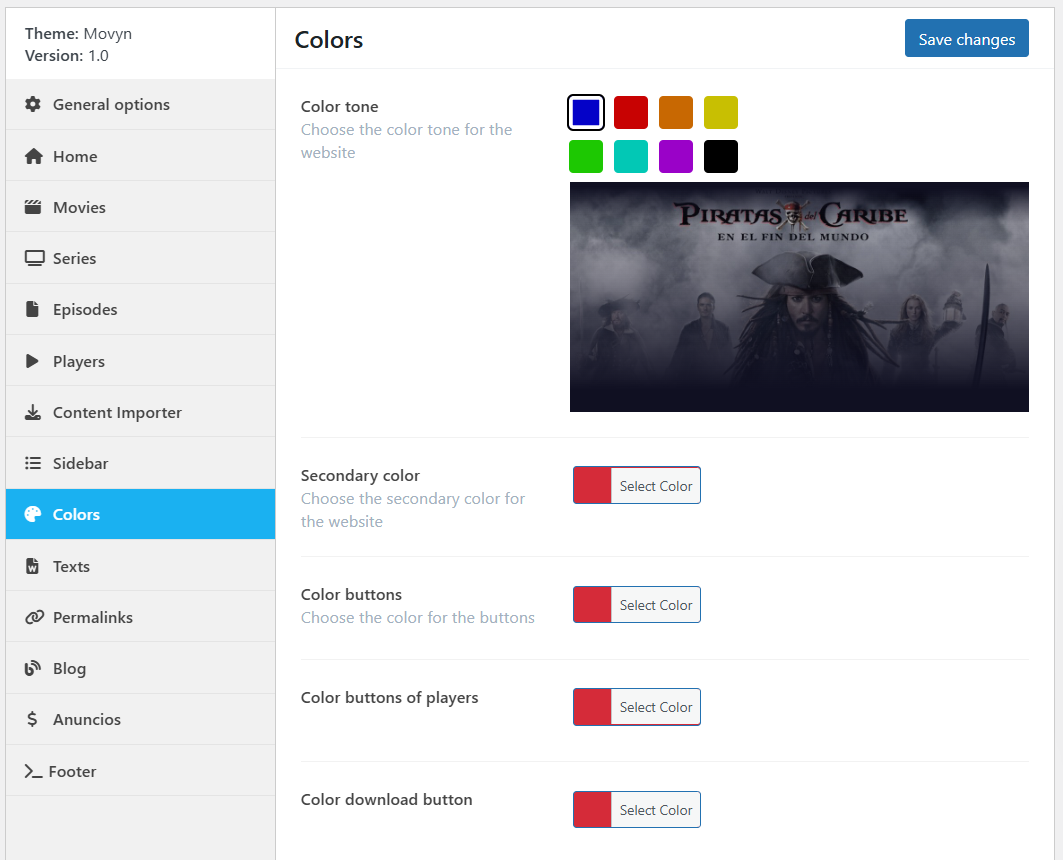
Color tone: Choose the color tone for the web.
Secondary color: Choose the secondary color for the web.
Button color: Choose the color for the buttons.
Player button color
Star color
Color label “year”
Color label “release” (movies)
Color label “release” (series and episodes)

Color label “episode”

Panel area where you can change some texts of the theme. Among these we have:
Search form

“View now” Button (Slider)
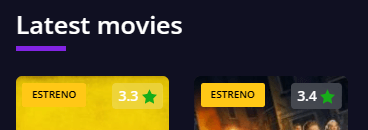
Latest movies
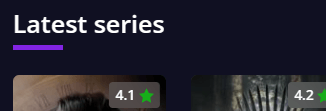
Latest series
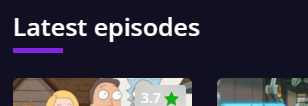
Latest episodes
Blog
Most viewed
Top rated
“See more” button
Tabs: These options appear in the movies, series and episodes area.
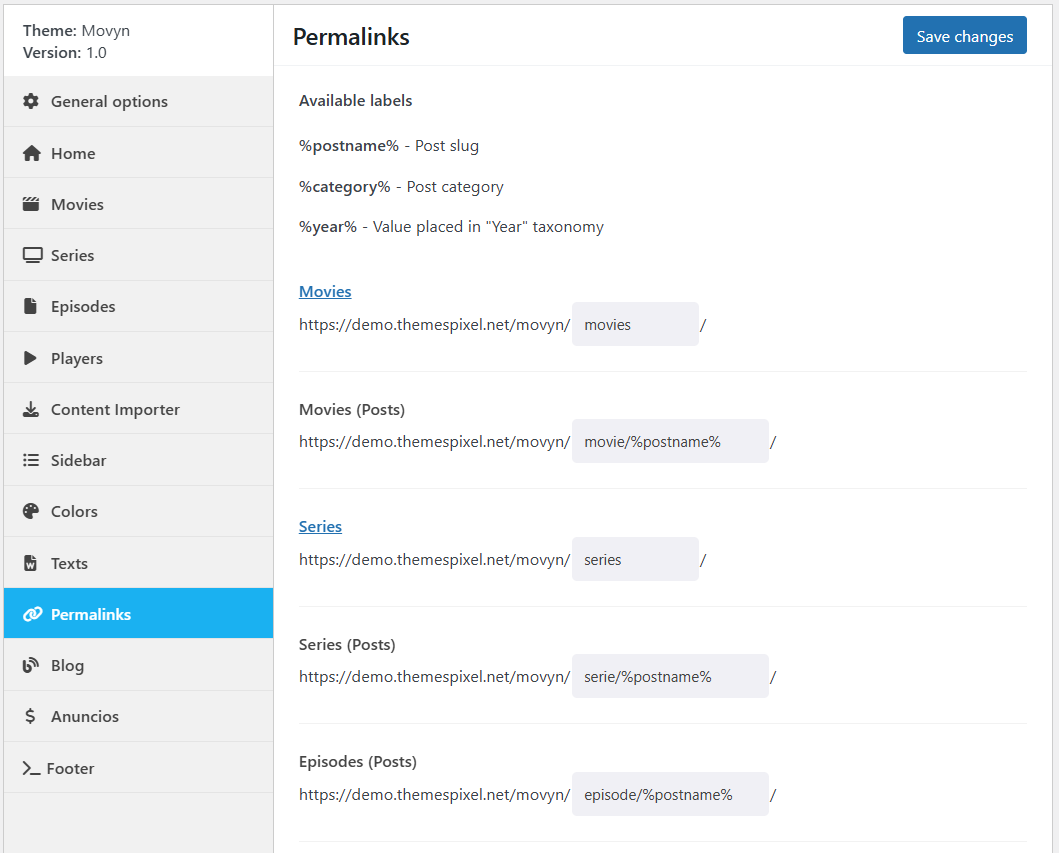
Area where you can change the slug of movies, series and episodes. You can use the following tags:
%postname% – Post slug
%category% – Post category
%year% – Value placed in the “Year” taxonomy
For example
By default, the URL for viewing the list of movies is “website.com/movies”. You can change it to any other word. You can also edit series and episodes, as well as posts.
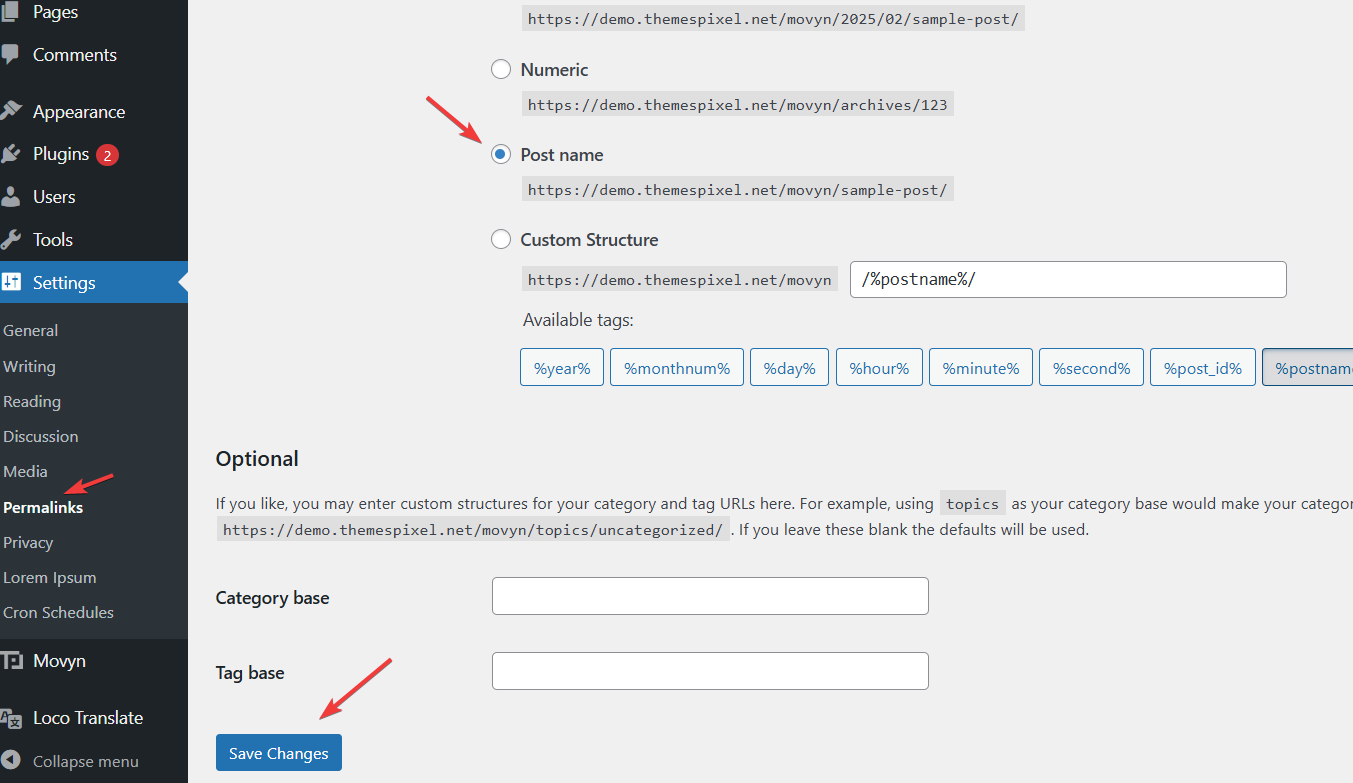
Once the change has been made, it is important to reset the writing rules. To do this, go to Settings → Permalinks and click Save Changes.
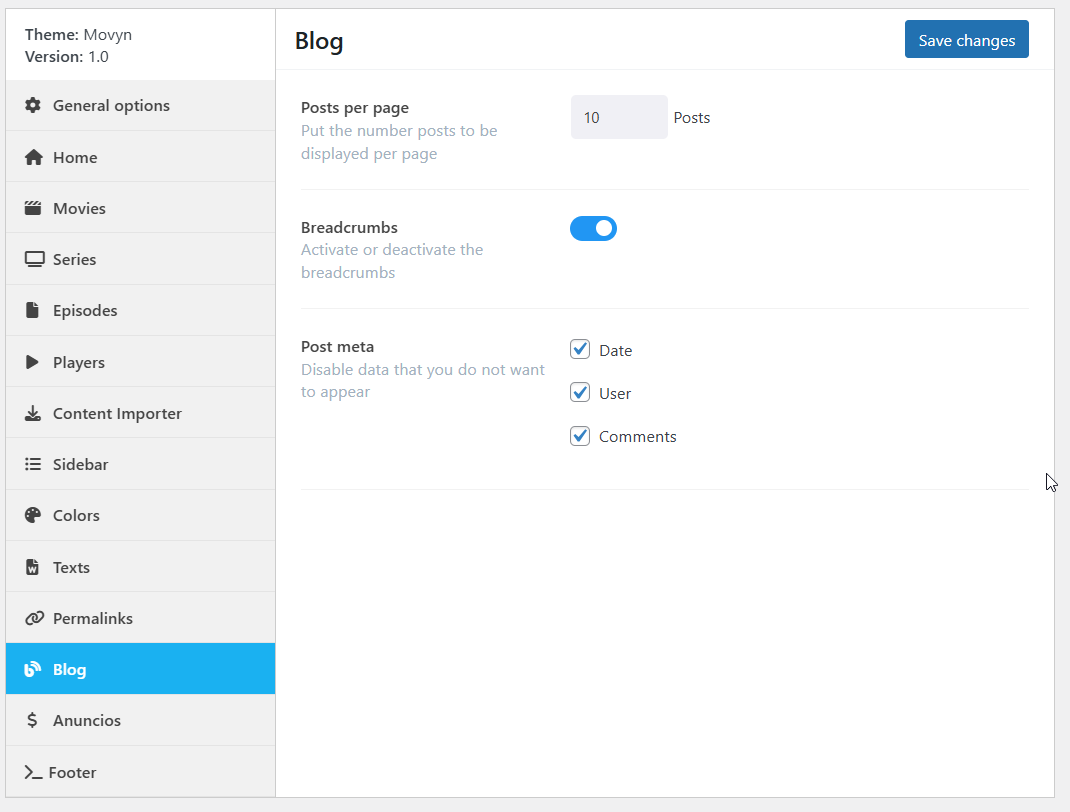
Posts per page: Set the posts number to display per page. By default, this will be 10 posts.
Breadcrumbs: Enable or disable breadcrumbs for blog posts.
Post meta: Disable data that you do not want to appear on each post. You can disable the date, the name of the user who created the post, as well as comments.
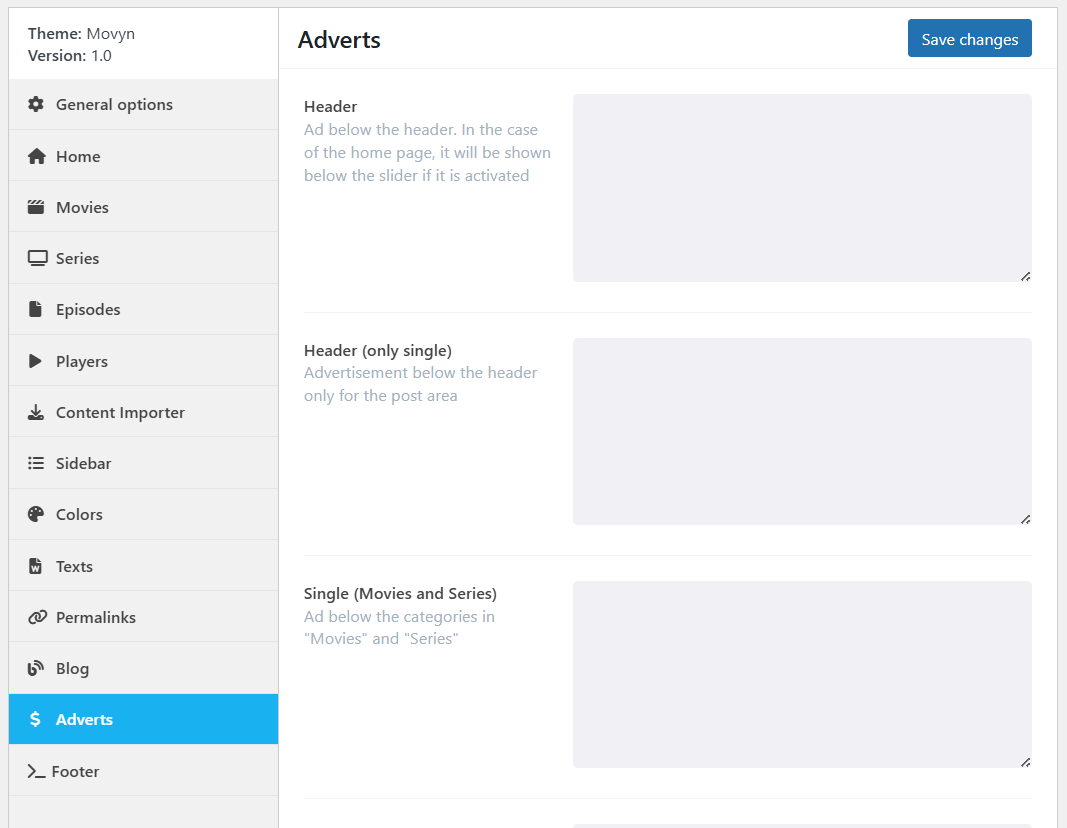
Area where you can place different ads in different parts of the website.
Header: Ad below the header. In the case of the home page, it will be displayed below the slider if it is activated.
Single (Movies and Series): Ad below the categories in “Movies” and “Series”.
Single (Episodes): Ad below the episode description.
Blog (Posts) Top: Ad at the top of a blog post’s content.
Blog (Posts) Bottom: Ad at the bottom of a blog post’s content.
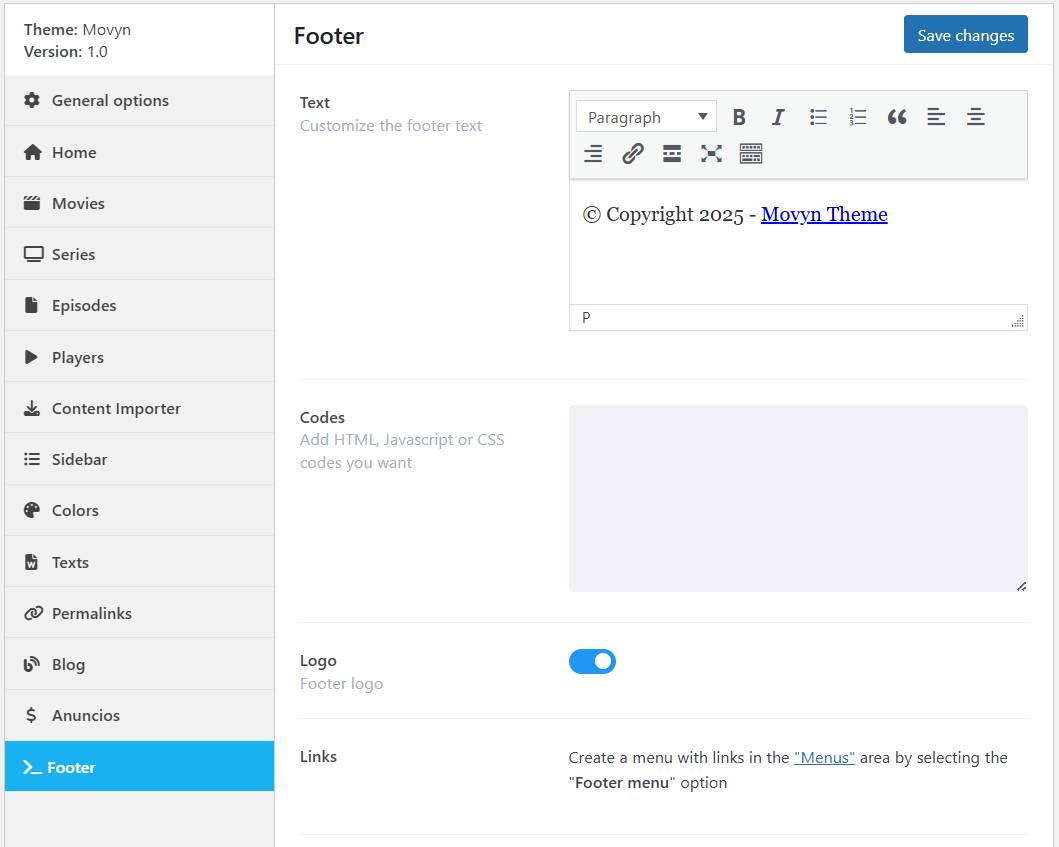
Text: Customize the footer text.
Codes: Add HTML, Javascript or CSS code of your choice.
Logo: Footer logo. Enabled by default.
Links: Create a menu with links in the “Menus” area by selecting the “Footer menu” option.